

Roland.O
Roland the Mechanic
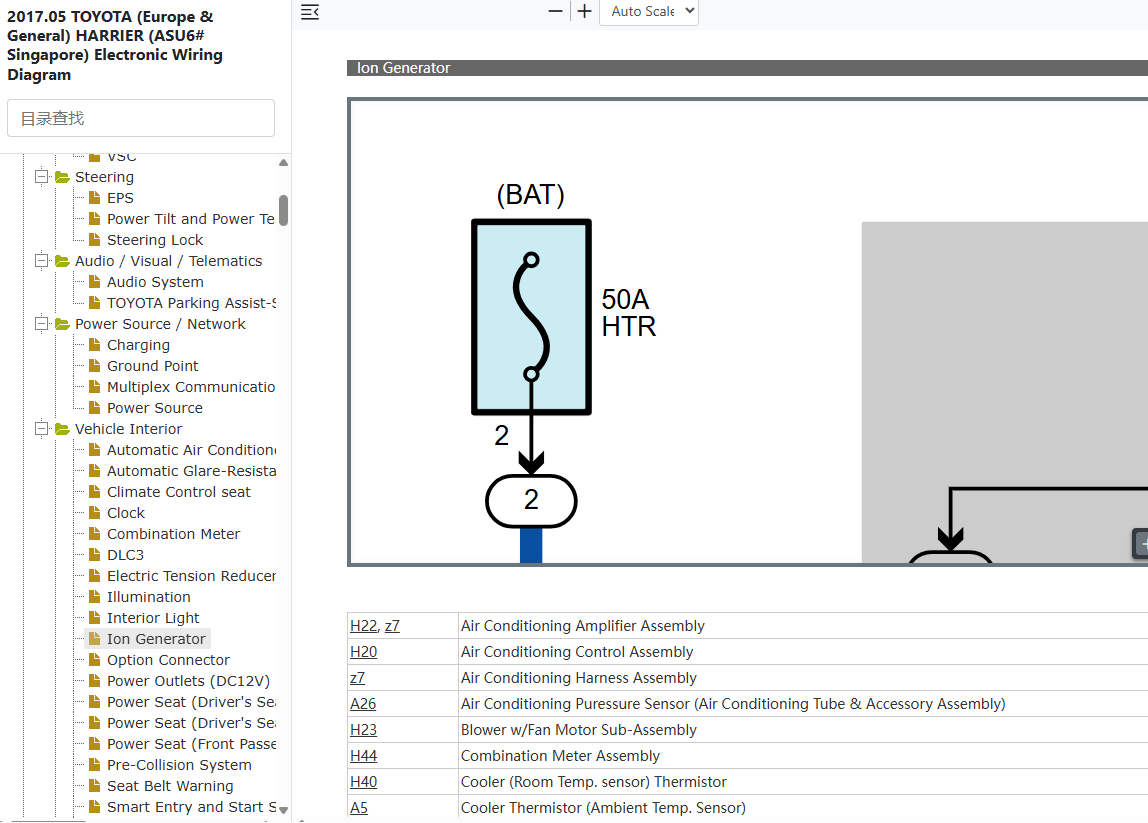
Attempting to service or test the ionizer unit in the Harrier ASU60/ASU65 without the proper factory procedures risks damage to the delicate air purification circuitry. This wiring diagram helps for circuit tracing, power and ground verification and connector identification. It provides specific terminal configurations and module lines needed to determine whether the ion generator failure are caused by open supply circuit, bad grounding or communication loss with the main HVAC control unit.
Common questions that this diagram answers
- Where is the cabin ion generator module located on a Toyota Harrier ASU60/ASU65?
- How do I check for power and ground at the Toyota Harrier ASU60/ASU65 ionizer connector?
- What are the wire colours for the Toyota Harrier ASU60/ASU65 air purification ion generator system?
- How does the ion generator interface with the automatic climate control module on a Toyota Harrier ASU60/ASU65?
How to access the diagram
Click on the link below to access the complete OEM Manual, within it you will find the Ion Generator Wiring Diagram. I have given the screenshot below to help you quickly navigate to the section where the diagram is located. Once you find it, you can then print or save it. Let me know if you face any challenges or have any questions and I will be happy to answer in the thread below. Please note that the year in the document is not the YOM but the document release date so it covers the entire model range. Also note the document applies to all countries where the model is sold Including Singapore, Australia, Malaysia, Kenya, UK, New Zealand, etc.- Access to the OEM Manual
-
Access the Verified OEM Manual
To access the full OEM Manual, click on the link below.
Access Manual — $39