

Roland.O
Roland the Mechanic
This OEM rear window defrogger wiring diagram gives you the full circuit paths, wire colours and connector pinouts for the heating grid. It gives the precise technical workflow to verify active power feeds for tailgate junction, trace broken grid supply lines and fix an inoperative rear defrogger. Without this schematics, you risk incorrect wiring identification which can easily short the adjacent tailgate electronics such as the glass mounted antenna and rearview camera lines.
Common questions that this diagram answers
- Where is the rear window defogger relay located on a Toyota Harrier ASU60/ASU65?
- How do I test for power at the rear defogger grid connector on a Toyota Harrier ASU60/ASU65?
- What is the fuse location and rating for the rear window demister on a Toyota Harrier ASU60/ASU65?
How to access the diagram
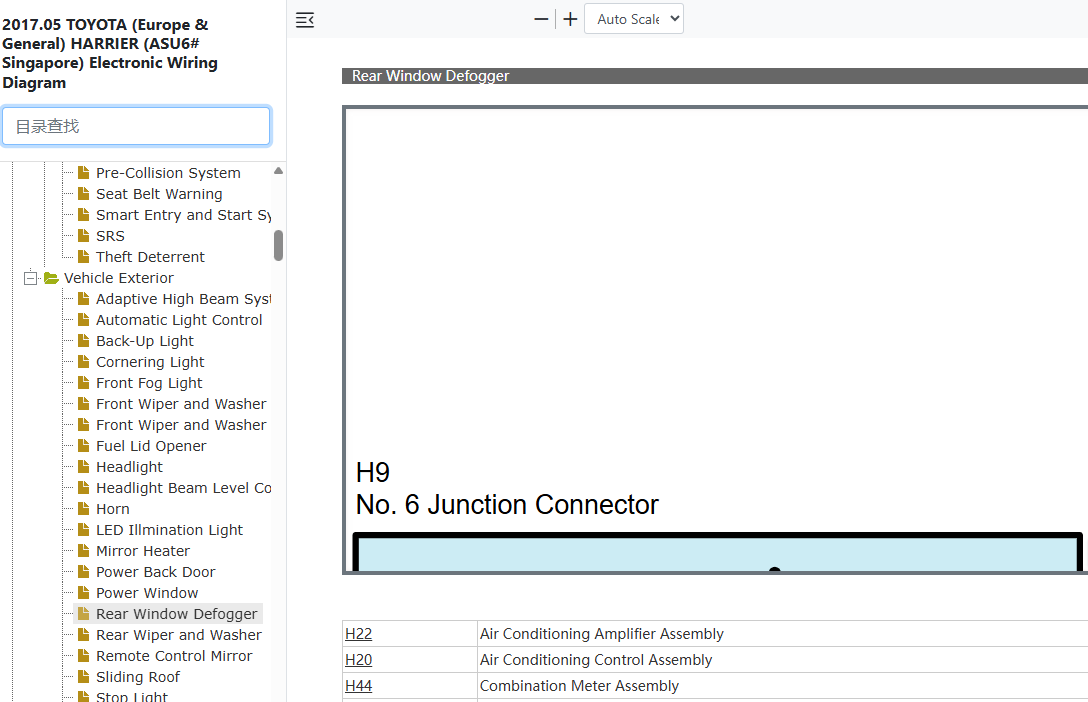
Click on the link below to access the complete OEM Manual, within it you will find the Rear Window Defogger Wiring Diagram. I have given the screenshot below to help you quickly navigate to the section where the diagram is located. Once you find it, you can then print or save it. Let me know if you face any challenges or have any questions and I will be happy to answer in the thread below. Please note that the year in the document is not the YOM but the document release date so it covers the entire model range. Also note the document applies to all countries where the model is sold Including Singapore, Australia, Malaysia, Kenya, UK, New Zealand, etc.- Access to the OEM Manual
-
Access the Verified OEM Manual
To access the full OEM Manual, click on the link below.
Access Manual — $39