

Roland.O
Roland the Mechanic
This OEM diagram for the remote control mirror gives you the full circuit paths, door harness splice points and component terminal pinouts. It helps trace voltage delivery, test adjustment switch continuity and fix unresponsive/erratic side-mirror movement. Working on the power mirror circuits without the factor diagram risks incorrect wire identification which can easily cause shorts across power lines, blown cabin fuses and replacement of unnecessary parts.
Common questions that this diagram answers
- Which fuse controls the electronic side mirrors on a Toyota Harrier ASU60/ASU65?
- How do I test the remote control mirror switch on a Toyota Harrier ASU60/ASU65?
- What is the pinout configuration for the door mirror wiring harness on a Toyota Harrier ASU60/ASU65?
How to access the diagram
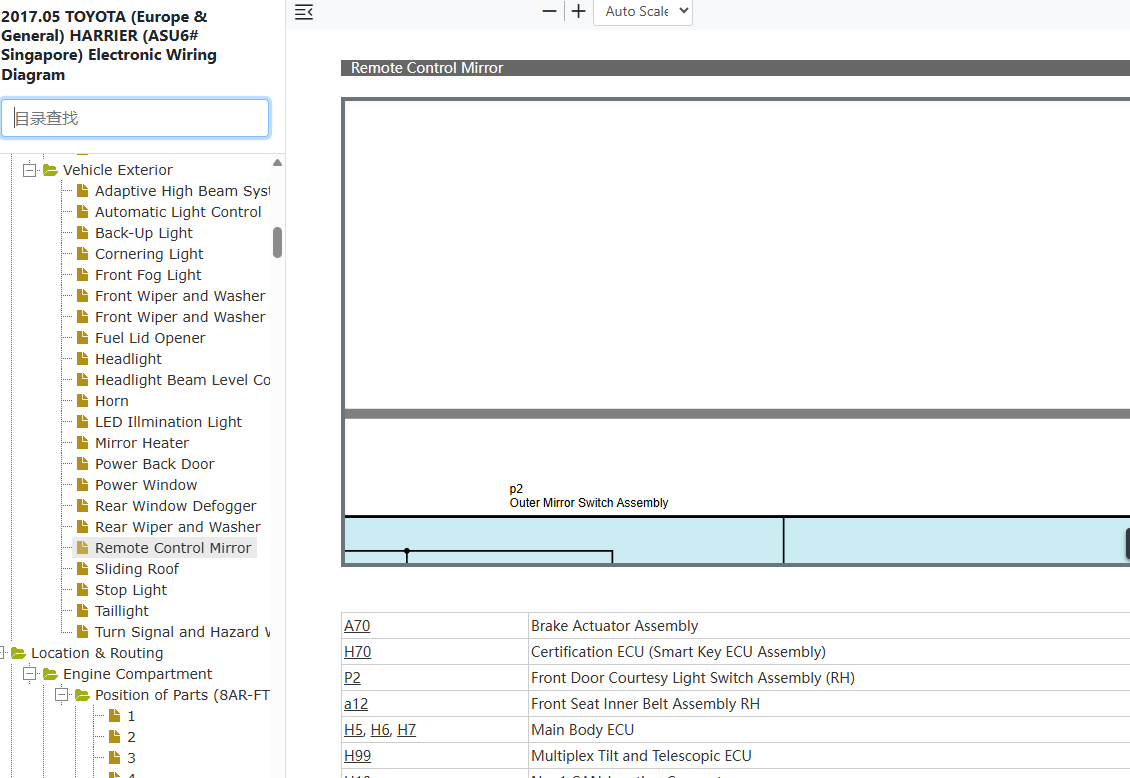
Click on the link below to access the complete OEM Manual, within it you will find the Remote Control Mirror Wiring Diagram. I have given the screenshot below to help you quickly navigate to the section where the diagram is located. Once you find it, you can then print or save it. Let me know if you face any challenges or have any questions and I will be happy to answer in the thread below. Please note that the year in the document is not the YOM but the document release date so it covers the entire model range. Also note the document applies to all countries where the model is sold Including Singapore, Australia, Malaysia, Kenya, UK, New Zealand, etc.- Access to the OEM Manual
-
Access the Verified OEM Manual
To access the full OEM Manual, click on the link below.
Access Manual — $39