

Roland.O
Roland the Mechanic
This diagram is essential for circuit tracing, component location and connector identification accross the supplemental restraint network. It provides the OEM pinout verification and harness mapping needed to verify terminal integrity for the airbag ECU, side impact sensors, clockspring and individual inflator circuits. Probing the terminals blindly without the factory wiring diagram can cause accidental airbag deployment or disable the system making it non-operational in the event of a collision.
Common questions this diagram answers
- What is the airbag ECU connector pinout for a Toyota Harrier ASU60/ASU65?
- How do I safely test for high resistance in the Toyota Harrier ASU60/ASU65 driver clockspring circuit?
- Where are the side impact sensors located and wired on a Toyota Harrier ASU60/ASU65?
- What are the wiring codes and colors for the front seat pre-tensioners on a Toyota Harrier ASU60/ASU65?
How to access the diagram
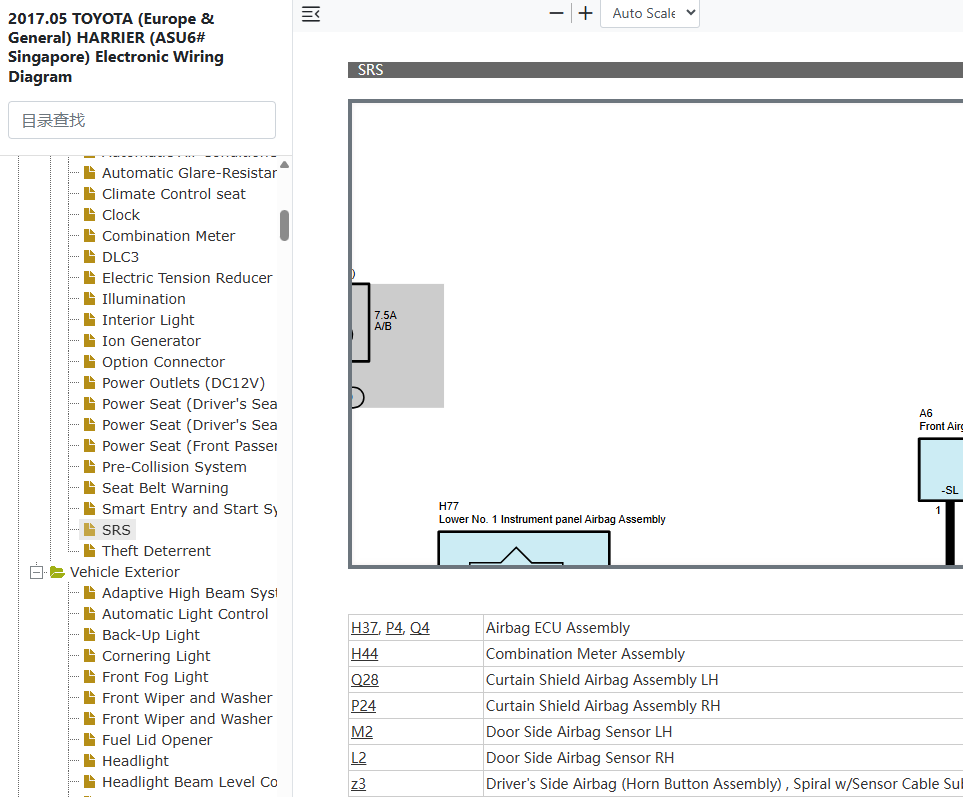
Click on the link below to access the complete OEM Manual, within it you will find the SRS Airbag Wiring Diagram. I have given the screenshot below to help you quickly navigate to the section where the diagram is located. Once you find it, you can then print or save it. Let me know if you face any challenges or have any questions and I will be happy to answer in the thread below. Please note that the year in the document is not the YOM but the document release date so it covers the entire model range. Also note the document applies to all countries where the model is sold Including Singapore, Australia, Malaysia, Kenya, UK, New Zealand, etc.- Access to the OEM Manual
-
Access the Verified OEM Manual
To access the full OEM Manual, click on the link below.
Access Manual — $39